
![Elegoo Neptune Pro 4 - Failed Print Help [SOLVED]](https://midwest.social/pictrs/image/a68dca29-dd61-4c8b-b1dd-9466d6ac54ba.jpeg?thumbnail=1500&format=webp)
I just sent this email over to elegoo official, so either way I’ll update this post with their response for a community reference point:
"Hello, I’m having issues with my Elegoo Neptune Pro 4. I’ve tried following the official documentation and other resources to help fix my issue to no avail, so I am reaching out as a last ditch effort.
My issue mainly pertains to PLA prints consistently being ruined partway during printing after a few months of use and operation.
Specifically, my print will successfully complete the first few layers. Then, at some point, the print will somehow ‘grab’ or ‘catch’ the print base and drag it around the print bed, ruining the print and causing a large build up of filament at my hotend. This then requires cleaning.
From what I have seen, this can be caused by issues with the print bed not being clean or the temperature of the bed in relation to the fan speed. For example, having a low fan utilization at the beginning, then ramping up later in the print is supposed to help this issue. However any fixes I tried returned null results.
Some background info, I purchased the printer on preorder and received it in September 2023. I have kept up with maintenance. Namely, keeping stepper motor tracks cleaned and greased properly, belts tightened, the print bed is wiped down with 90% ISO alcohol between prints. I have replaced the hot-end when I first started experiencing print issues, and again during the troubleshooting process to further diagnose the problem. My Z offset seemingly is “correct”. I followed the mfg instructions closely, and before this issue, my prints were coming out beautifully.
Print Settings: Using Elegoo brand PLA 1kg filament rolls. Default Elegoo Cura print settings applied for temperature, speed, fan speed, nozzle size, etc. Supports or No supports didn’t make a difference during my troubleshooting. Brim printing mode is my default.
For the 4-5 months that I’ve had the Neptune Pro 4 has been absolutely amazing. Fantastic quality, consistent, very easy to use and maintain. The issues I’m experiencing are beyond annoying and I can’t seem to figure it out myself.
Is this issue known? What are the recommended solutions?"
- Let me know if any of you have experienced something similar to this and how you addressed it!
EDIT: This is likely solved. There are many issues that can contribute to this issue but TLDR quadrouple check your z offsets. Read the thread for other good info.
Going by just the failed circular print, you definitely don’t have a good Z offset. There’s no smoosh there. Putting it lower will smoosh the filament into the print bed (Part of why the PEI sheet is textured. The filament smooshed in the texture helps hold it better than a flat print bed). The fact that you can see through your first layer is bad.
The top layers of your other failed prints look good, so I say we can rule out under/over-extrusion.
I agree with this. OPs adhesion is almost non existant, printed model being dragged around with nozzle.
Get nozzle much closer to print bed. Print the first layer slowly with no fan, stop and repeat until its perfect, then continue with 2nd layer. There shouldnt be any gaps between lines (too far), but surface should be smooth with no ridges (too close)
There are some other tricks to improve adhesion even more, but first layer should be fixed first
Printing the 1st layer slow is so important, forgot about that! I’m down to 25mm/s on my first layer. Nice and slow. A print with a large surface area (Like a sign) may take 15 minutes on the 1st layer, but it’s definitely worth it.
This was the final key, just bringing it WAY closer to the build plate. My first test print turned out much better I see what you mean by smoosh being missing.
Lowering the Z Offset, Cleaning the build plate, using “fresher” filament, adding a brim support layer, and checking the nozle for built up filament seems to be the checklist to follow.
Appriciate the help, Lemmy was a last resort. Hopefully someone else can stumble upon this thread if they’re having issues.
Much better, but noozle should still be bit closer
got it, more test runs to follow.
If that’s the 1st layer we’re looking at, you can get even closer. You want all those lines to be merged with each other.
Just ran a disk like yours as comparison. You have to look pretty close to see the individual lines!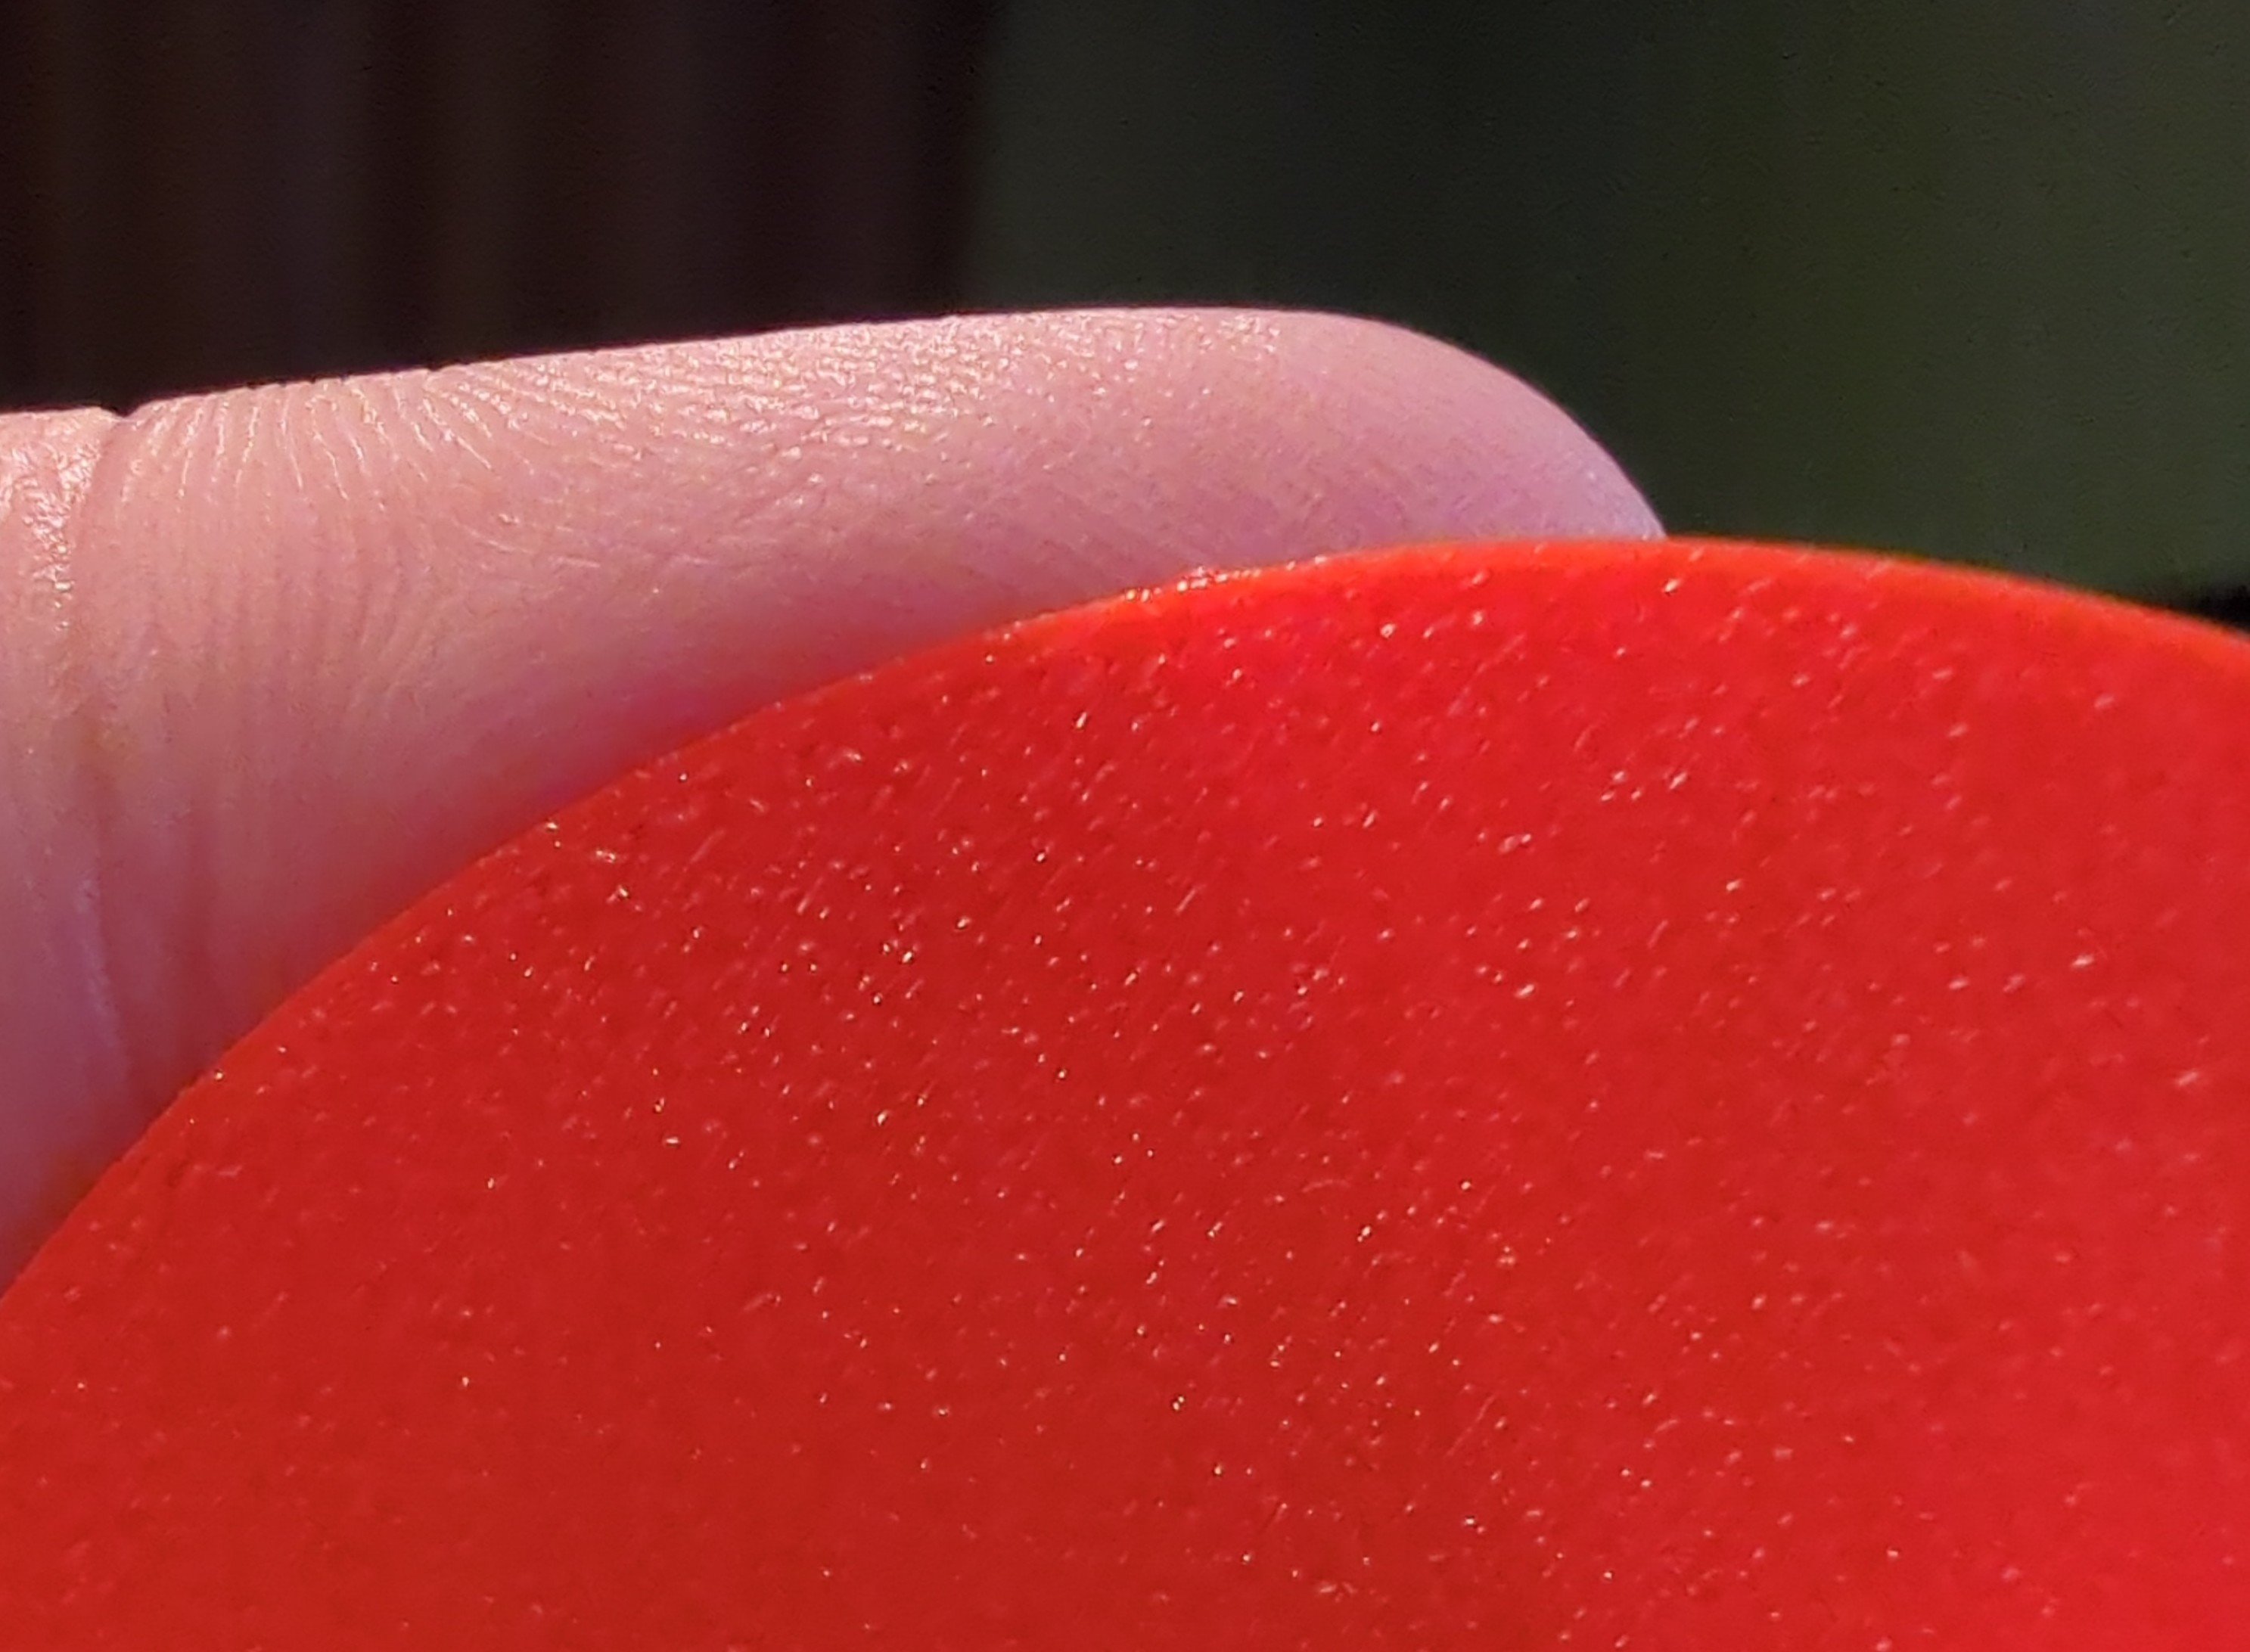
Spent time printing last night and I was able to get a first layer that looked extremely similar to this. Was able to successfully print some smaller things (1 hour print time max). Scared to test a longer print honestly, mostly because if it still doesn’t work I’m just at a loss.
Side note, that red is super vibrant looking. Gonna grab some now lmao.
It’s actually orange! But yeah, super vibrant. My favorite brand is IIID Max, their PLA+ is very vibrant